Demo Mode
You can operate the DHD Operation Manager (DHDOM) in demo mode. Switching to demo mode is possible by using the demo mode function of the DHDOS.
To enable this demo mode follow these steps:
- Start the DHD Operation Server.
- In the notification area (in the taskbar), right-click on the DHD Operation Server icon and select
OPEN. - On the
Administrationmenu, clickServer Preferences. - On the
Generaltab, select theRun Server in DemoModecheck box. ClickOK. - On the
Administrationmenu, clickData & Devices. - Click
Add device. - Select
Toolbox Project Fileand select your Toolbox config file. - In the
Select Devicelist, select the device, which do you want to use for routings. ClickOK. - The device shows up in the
Devicewindow. ClickOK. - Start DHD Operation Manager software.
- In the
Logon tolist, select your device. ClickOK. - On the
Filemenu, clickLogin. - Default Username:
AdministratorDefault Password:DHDClickOK.
Within the demo mode, you are able to edit the configuration of DHD devices, even if you have no physical access to the devices.
Note
Basically, you can use all commands of the software in demo mode as if you are connected to the device. But some functions/displays require an interaction with the device. That is why some options of the DHDOM are not usable in demo mode or are only executed/shown in a simplified way. However, the settings are only saved local and will not be sent into the network.
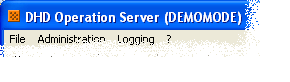
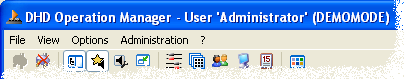
In the title of the DHDOS and DHDOM windows, you can find an information that the software is running in demo mode.