Administration
If you want to limit access to certain functions, you have to create authorisation groups. You should also create user accounts and assign the users to the authorisation groups.
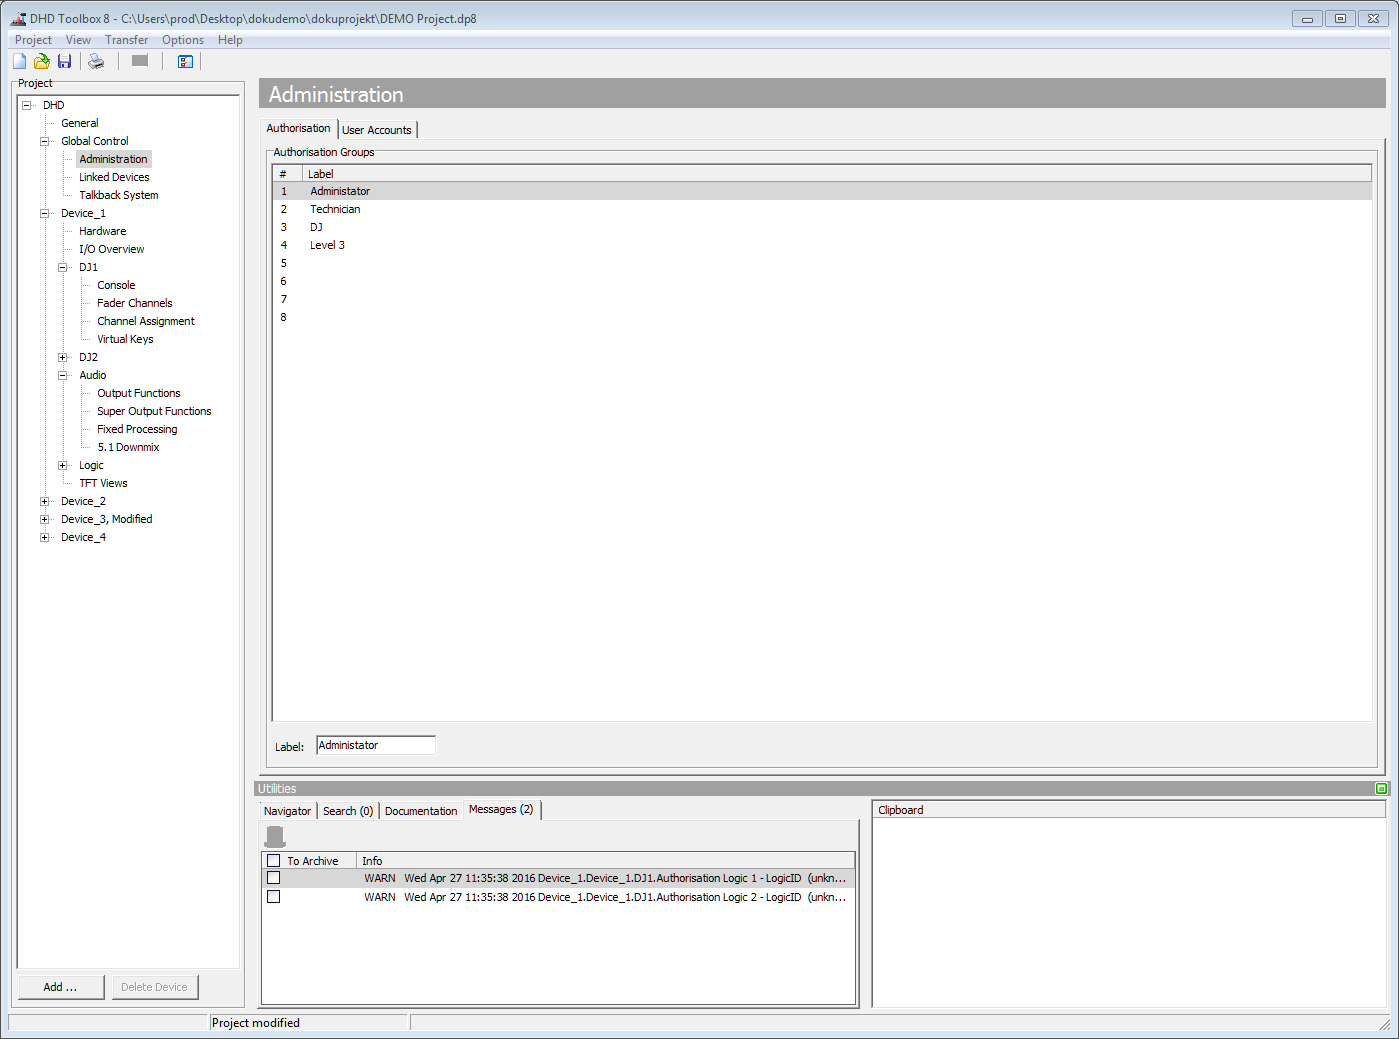
In the project tree under Global Control, select the sub-section Administration to edit the user rights.
Authorisation groups
In the Authorisation tab you can see a list, which shows a maximum of 8 possible authorisation groups that are marked by a serial number Nr. Authorisation groups can neither be added nor deleted. You can type a name for each group in the Label box below the list.
User Accounts
Click on the User Accounts tab to create user accounts and assign them to authorisation groups. With the Add button in the User List area you can create up to 20 users. Click Remove User to delete a selected user from the list.
In the Edit User area, you can change several user settings. Enter a name for a user in the User Name box. Select the Display User Name check box to show the name of the logged in user in all OLED displays of the control modules.
For each user, you can add a four-digit PIN code in the Personal PIN box. By entering the PIN code, the user has access to functions that are enabled for his user group.
You can log-out the users automatically after a defined duration. After this duration the user has to log in again. Choose this duration from the Autolock drop-down menu. You can select 2, 5, 10, 15, 20 or 30 minutes or select (Off) to disable this feature.
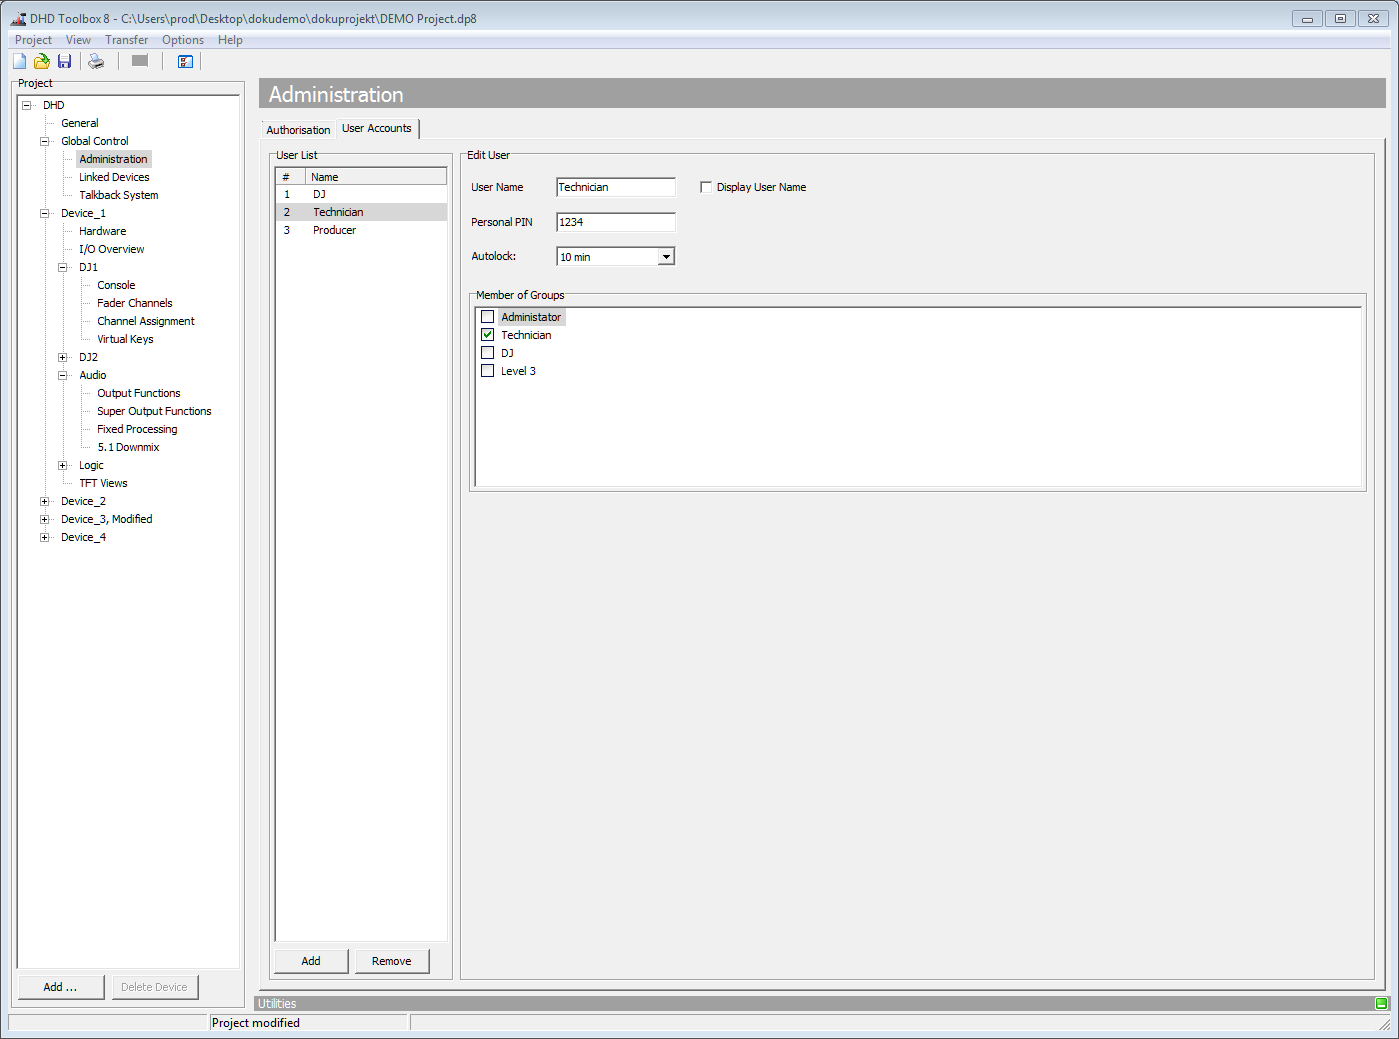
In the Member of Groups area, you can see all configured authorisation groups. Select the check boxes in front of the group names to assign the currently selected user to one or more authorisation groups.
For detailed authorisation settings for each user group see Authorisation