Logon to a DHDOS entity
The DHD Operation Manager (DHDOM) has a two-stage login process. Directly after starting the software, you need to select the DHD Operation Server to which you want to connect. For this, you have to choose the according system in the Logon to list.
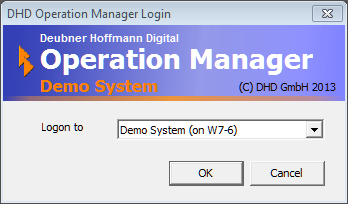
Depending on the licences in the devices, some of the activated functions are already available after this first login step (e.g., Quick Monitor Buttons).
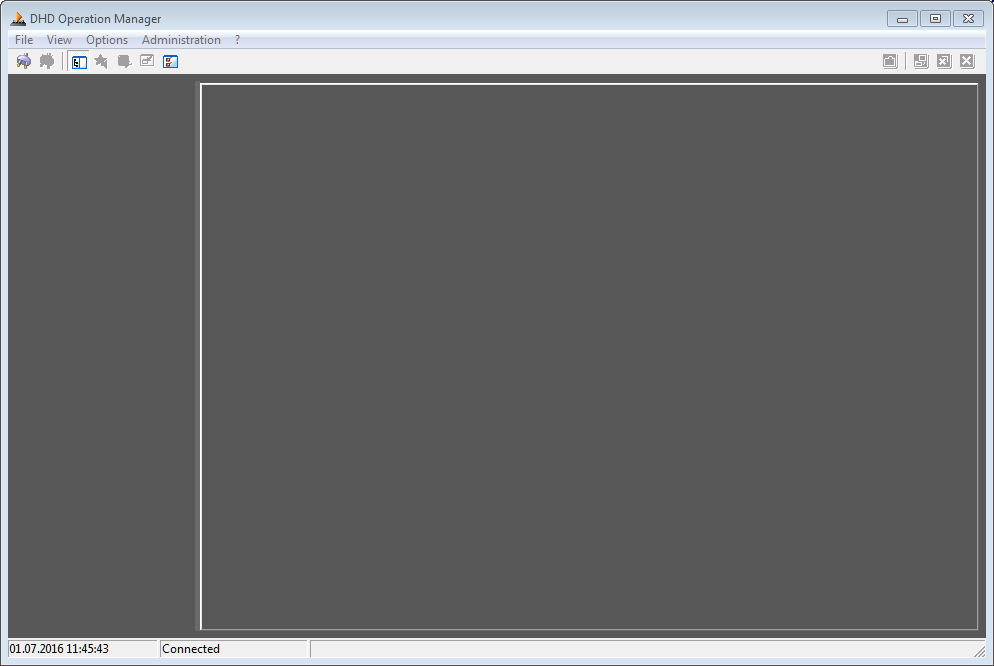
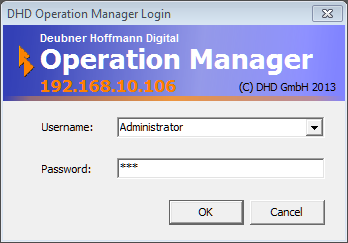
For the most functions, you have to log in as an authorized user to be able to use these options. To log in click the  icon in the DHDOM toolbar.
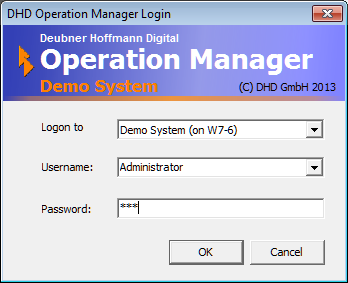
Use the following data for your first login. For safety reasons, you should change the default password afterwards. (See User Management).
Username: Administrator
Password: DHD
Note
Username and the password are case sensitive!
Important
You can not reset the password if lost!
Note
Monitoring functionality can be enabled for use without login. See Functions without login for more information.
Is there only one DHDOS available, its name is shown in the login window and the software will automatically connect to this DHDOS entity. A drop-down menu appears if there are several DHDOS entities available in the network. Select the device you want to control. The selection of the DHDOS entity at the user login is not depending on the first login step. That means, you can choose a DHDOS entity you want to connect to in the first step and then you may change to another project at the user login step.
The different software applications of the DHDOM and their subunits are opened in several tabs. After the user has logged in, the same tabs are opened he had used before he logged out last time. If any problem occurs with a tab during the login process, this tab is closed automatically and will not be opened at future logins. For instance, a user had opened a matrix and then the administrator blocks the access right to this matrix.
Login via a fixed IP address
If there are several DHD Operation Server entities available in the network, the DHDOM asks for the entity it should connect to. Provided that you want to connect always to the same DHDOS entity, you can appoint this entity.
Therefore, you need to add the command -FixedIP: and the IP address of the server PC to the prompt. An easy way to handle this is to create a shortcut for the DHDOM. Right-click the shortcut and open its properties window. Enter the additional command behind the directory as it is shown in the picture below. Type the IP address of the DHD Operation Server PC behind the -FixedIP: command.
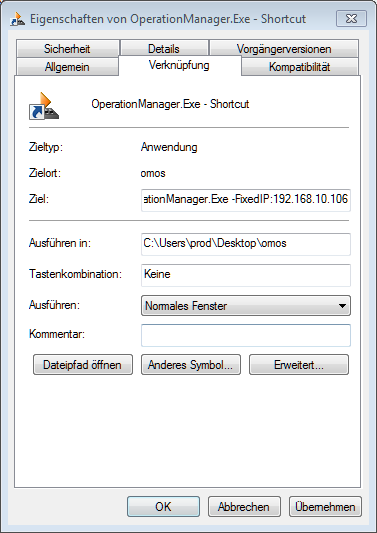
By executing this shortcut, the DHDOM directly connects to the predefined server PC. If you have not assigned a user that is logged in automatically (see Workstations), the user needs to log in afterwards.
If slave entities of the DHDOS are running on other server PCs of the same network, you can add their IP addresses to achieve automatically connection to these redundant entities. You just have to add further -FixedIP: commands to the prompt:
-FixedIP:<IP address of the general server PC> -FixedIP:<IP address of the first redundancy server PC> -FixedIP:<IP address of the second redundancy server PC>