Backups
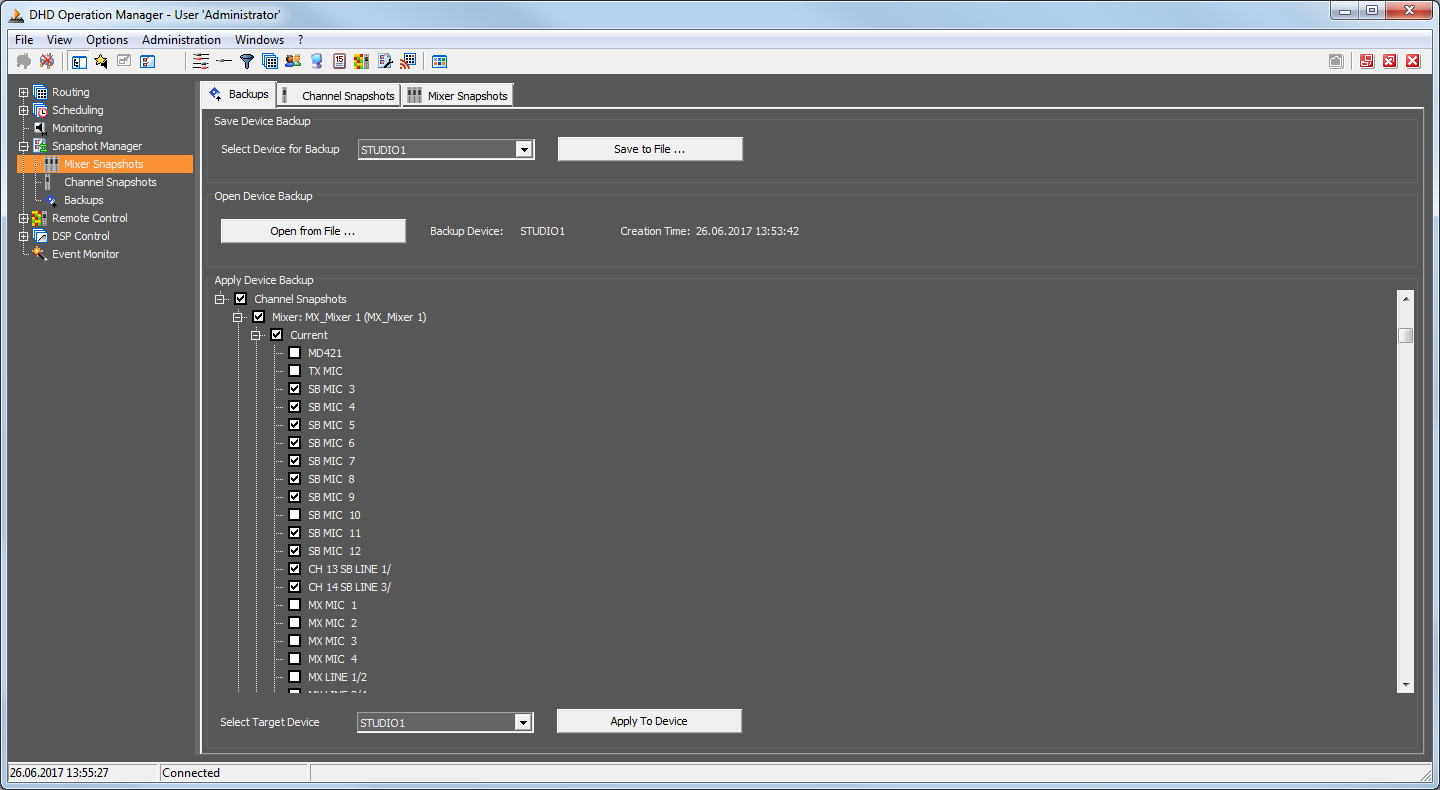
Double click the entry Backups (this is a child entry of the Snapshot Manager) in the list on the left-hand side of the DHDOM window to open the Backups tab.
The Backups tab is divided into three parts. Use the upper section to create backups of the current state and the snapshots of a device and to save the data into a file. Below, you can open a stored backup file. With the functions of the lower area, data of the loaded backup file can be transferred to a device.
Creating a Backup
Choose the device in the pull-down menu of the Save Device Backup section you want to create a backup for. Click on Save to File to create the backup. All mixer and channel snapshots, as well as the current states, are saved in a *.ddb file.
Additionally, a log file is created automatically. This text file is named with the following structure Backup_dd-mm-yy_hh-mm-ss_log.txt. The characters represent the date and time the backup was made. You can open the log files with a standard text editor to find the following information in these files:
- The date and time the backup was made.
- The name of the user who has created the backup.
- The name of the workstation the backup was made with.
- The directory the backup file was saved to and the file name.
- The device name and its ID.
- The Project ID.
- A list of all successfully saved items.
- A list of all items that are not saved.
During the data is transferred, a progress bar is shown.
Transferring Backup Data to a Device
At first, you need to open a backup file. Therefore, click on Open from File and choose the respective backup file. After the file is loaded, next to this button the name of the device the backup was made from as well as the date and the time it was created, are displayed.
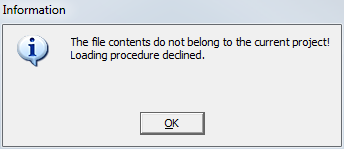
If the backup was created with another DHDOS project, it is not possible to load it and the following message appears:
In the section Apply Device Backup all items are listed, you are able to transfer backed up data to. That means the current states, as well as the mixer and channel snapshots of all available virtual mixers, are listed in this field.
Note
Maybe some items are grayed out. Either there is no backed up data available for these items or not all conditions are met to be able to overwrite these items. Please see the columns To load mixer snapshots from the server to the device and To load channel snapshots from the server to a device of the tables in the section Snapshot Transfer Conditions to find out which conditions must be met.
Contrary to the transfer of single mixer or channel snapshots in the Mixer Snapshots and Channel Snapshots tabs, the names of the mixer and channel snapshots on the device are overwritten by the snapshot names saved in the backup file.
Follow these steps to transfer the data to the device:
- Mark all items in the list you want to overwrite in the device by activating the checkboxes in front of the labels.
- Choose the desired device in the
Select Target Devicepull-down menu. - Press
Apply To Deviceto send the data to the device.
During the data is transferred, a progress bar is shown.
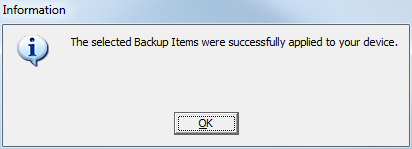
You will get an information after the transfer is done successfully.


